6 Ways to Log Checklists in Microsoft Planner
- Robert Ward

- Apr 30, 2025
- 3 min read
The Microsoft Teams collaboration platform bundles the Microsoft Planner app for team task management.
Part of the detailed view on tasks is a Checklist section, which is a helpful structured area for task information as opposed to the limited characters in the task name or the unstructured free text in the Notes section.
To access it, click to Add Apps, search Planner, and Open:

Click Add new task to get started:

Click the information icon to open the detailed view:

Then you can start adding checklist items:

The task list in Microsoft Planner can look very basic. However, here are 6 ways to maximise value from the Checklists in each Task:
An ordered set of tasks
Yes, the obvious.
An ordered set of activities for the task assignee to complete. The assignee then can mark them off as they complete them in order. When all of them are marked off, then they can mark the task as done. As an additional benefit, the checked task list can be used as an assurance by the tasks manager, that the assignee has confirmed they’ve completed everything.
Go to location E6, take 5 boxes, take them to location N7, check that 12 total are present

A checklist
A list of attributes for the task assignee to verify.
In this scenario, the order is less important than that all the items are verified. A classic example is a quality assurance checklist. Make sure that car has all four wheels!
An alternative perspective is an unordered list of tasks to be done. The assignee can decide how they do it, but it tells them what needs to be done and allows them to confirm completion.
For example, commitments for a cleaning contract on a site: wipe desks, mop the floor, turn on the dishwasher.
A multi-select checklist This is similar to the checklist, but with an emphasis on describing the item inspected or task completed, rather than a verification process with a pass/fail result.
A merchandising example, for someone to replace missing items later: Tea Bags; Mugs; Coffee Sachets; Sugar Sachets; Milk; Herbal Tea; Mint Tea

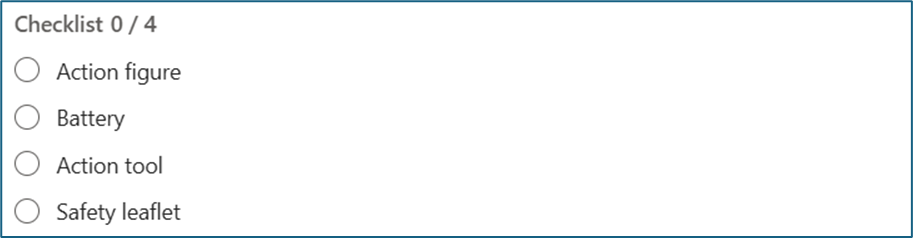
A set of options
In this scenario, there are a set of options of which only one is valid.
Patient on end of visit: asleep in bed; awake in bed; awake sitting; asleep sitting; awake walking

A value selector (ordered set of options) This is a more creative use case. Here the assignee has performed the task. As part of this activity, or as a result of this activity, they observe an output or complete a specific quantity. Emphasis on specific, to avoid ambiguity.
One. Two. Three. Four. Five. Size 1. Size 2. Size 3. Size 4. Size 5.
Yes. No.

A description
The last scenario is helpful when there’s a card view or similar, where the task name and checklist is displayed but not the notes.
Each of the checklist items is intended as a part of the activity description rather than an item to complete.

As above, there are many different ways to use the checklist function to Planner. Enjoy!
Tips:
Whichever of the above you are using for a particular project, it’s important to be consistent across the different tasks. This way assignees will know what is expected of them. And make sure to communicate expectations about task completion, so that you don’t feel disappointed when tasks are closed and no checklist items are marked off.


Comments